![](https://img.thebdsoft.com/wp-content/uploads/2020/06/55a50-1483773699501441.jpg)
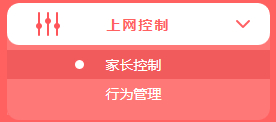
1、登录路由器管理界面,点击 高级设置 >> 上网控制 >> 家长控制,进入设置界面。
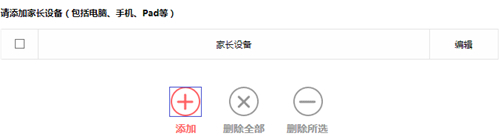
![](https://img.thebdsoft.com/wp-content/uploads/2020/06/b44b8-1483773708297633.jpg)
2、添加家长电脑,点击 添加,如下图:
![](https://img.thebdsoft.com/wp-content/uploads/2020/06/cac26-1483773714453176.jpg)
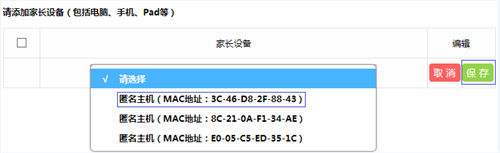
3、在添加栏中选择家长电脑的MAC地址,点击 保存。如果有多台电脑要作为家长电脑,请逐一添加,如下图:
![](https://img.thebdsoft.com/wp-content/uploads/2020/06/846e4-1483773719457063.jpg)
4、添加完成后,家长主机的列表如下图,该列表的主机的上网不受限制。
![](https://img.thebdsoft.com/wp-content/uploads/2020/06/a46f9-1483773724684376.jpg)
5、添加允许小孩上网的时间段,空白区域为允许上网的时间。如下图:
![](https://img.thebdsoft.com/wp-content/uploads/2020/06/76c75-1483773730259772.jpg)
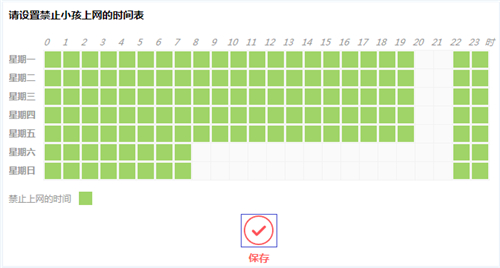
注意:本例中允许小孩在周内20:00~22:00、周末08:00~22:00上网,具体根据实际需求。
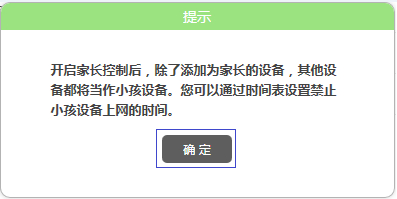
6、在页面上方点击开启家长控制,如下图:
![](https://img.thebdsoft.com/wp-content/uploads/2020/06/6779e-1483773735526090.jpg)
7、在弹出的提示框中,点击 确定,如下图:
![](https://img.thebdsoft.com/wp-content/uploads/2020/06/f161b-1483773740584545.jpg)
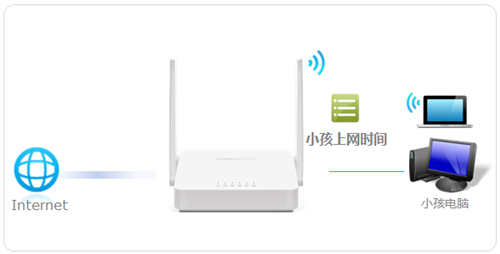
至此,家长控制功能设置完成。家长上网不受任何限制,小孩只能在指定时间上网。